AWS Glue crawler cannot extract CSV headers properly
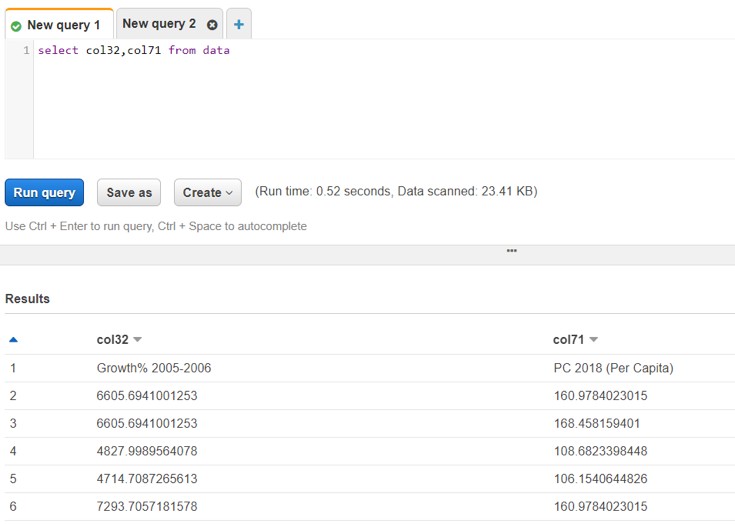
Scenario: You have an UTF-8 encoded CSV stored at S3. You ran a Glue crawler to create a metadata table and further read the table in Athena. When you query the table in Athena, you don't get the headers instead every column is named as (col1, col2, col3,...so on)
Convert CSV to Parquet using AWS Glue
Today we will learn on how to convert CSV to Parquet using AWS Glue ETL Job

AWS Glue Fatal exception com.amazonaws.services.glue.readers unable to parse file data.csv
Error in AWS Glue: Fatal exception com.amazonaws.services.glue.readers unable to parse file data.csv


Resolution: This error comes when your csv is either not "UTF-8" encoded or in your "utf-8" encoded csv there are still some special unicode characters left (generally this happens when you convert csv from excel workbook by right clicking and save as csv). To see the special unicode characters, open your file in the Notepad++ and scan the file.
There are two ways to convert Xlsx to CSV UTF-8:
- Convert it from Excel
- Open xlsx/csv in excel and go to file>save as
- select Tools > web options
- Go to Encoding > select "UTF-8"
- Now upload the file in S3
- Preview the file in S3
- select the file > preview
- If every thing is fine, you will see the CSV data in the S3 preview
- If your file has some special unicode characters, S3 will give below error
- Convert to UTF-8 programmatically (Best approach)
- Write a python script by importing xlrd library that will read your xlsx
- Specify the encoding and save the converted file to csv utf-8
- Now upload the file in S3 and you will be able to preview the CSV data
Create an AWS Glue crawler to load CSV from S3 into Glue and query via Athena
Let's see how we can load CSV data from S3 into Glue data catalog using Glue crawler and run SQL query on the data in Athena

Steps:

- Go to Glue and create a Glue crawler

- Select Crawler store type as Data stores

- Add a data store
- Choose your S3 bucket folder
- Note: Please don't select the CSV file. Instead, chose the entire directory

- Add another source = No

- Choose IAM role
- Select an esisting IAM role if you have. otherwise, create a new IAM role

- Create a scheduler = Run on demand

- Configure crawler's output
- Select the Glue Catalog's database where you want the metadata table to be created
- This table will only hold the schema not the data

- Now go to the Glue Data Catalog > Databases > Tables
- Here, you will see your new table created that is mapped to the database you specified
- You can also see the database in the Glue Data Catalog
- Now, go to Athena

- Check if you have already configured an output for Athena Queries
- Athena stores each query's metadata in S3 location. so, if path not specified, select a temporary S3 path.
- Select the database in Athena
- You will see your new table created

- Run the sql query to fetch the records from the table created above and see the records
Setup Git on AWS EC2 Linux and clone the repo on Local Windows Machine
Scenario:


- Setup and Launch an EC2 linux Instance
- Install Git on EC2 linux
- Create multiple users on EC2 linux to access the machine and use Git
- Create an empty Git Repo on EC2 linux
- Give users access to Git
- Clone Git on a local windows machine
Steps:
Create a new EC2 Linux instance
- Amazon Linux 2 AMI
- General purpose t2.micro
- Setup inbound security rule to allow your machine SSH into the EC2
- SSH port 22 : <your machine's public ip>
- You can also click "my ip" in the drop down
Log in to your linux EC2 with default user (ec2-user) through putty
- In putty, load the pem file and convert it into ppk file
- In putty > Auth > load the ppk file
Enter the command: Sudo yum install git -y
Enter "Git --version" to verify if the Git has been successfully installed on EC2 or not
Next step is to create users in EC2 Linux for login and for committing code to Git:
· Open Puttygen and click generate
o Select Type of key to generate = RSA
o Number of bytes = 2048

· Once the loading is finished
o Click “Save public key”
o Click “Save private key”
§ Give a name to your private key (e.g.: test2pvt.ppk)
· Log in to your linux EC2 with default user (ec2-user) through putty
o In Auth, pass the ppk file of the default user

· Create a new user
o Sudo adduser new_user1

· Switch to the new user
o Sudo su – new_user1
· Create a .ssh directory
o Mkdir .ssh
· Assign the appropriate permissions
o Chmod 700 .shh
· Create authorized_keys file
o Touch .ssh/authorized_keys

· Assign the appropriate perissions
o Chmod 600 .ssh/authorized_keys

· Open the ppk file you created for the new user and copy the algorithm and key
· Enter the key that you generate for the new user in the above file
o Vi .ssh/authorized_keys

Note: make your key in one line and enter the algorithm name in front of the key and the key file name at the end (for e.g.: test2pvt was the name of the file you created for this user)
· Login to your new user using putty
Now we will create an empty Git Repo and configure user access:
· On you EC2 Linux, type the below commands:
o Mkdir testGitRepo.git
o Cd testGitRepo.git
o Git init –bare (this will initialize an empty repo)
· Now go to your local windows machine
· Create a folder for git on your local windows machine
· open a command prompt
· Navigate to that folder (cd </path/to/the/git/folder/on/your/local/machine)
· Generate a rsa key for your local machine
o Type: ssh-keygen –t rsa –b 2048
· It will create public and private key and store the keys in your local machine
o Path: users/username/.git/id_rsa.pub
· Open the id_rsa file in your notepad
o Copy the key
o Note: make sure you copy the whole line and everything is in one line
· Go back to your EC2 linux machine
· Open the file “authorized_keys” using vi editor
o Type: vi .ssh/authorized_keys
· If you see an existing key, paste this new key on a new line after that existing key. Otherwise, simply paste the new key.
· Save and exit the vi editor
· Go back to your local machine and enter below commands
o Git init
o Git add .
o Git commit –m “initial git commit”
o Git remote add origin ec2-user@<your-full-ec2-public-ip>:/home/ec2-user/testGitRepo.git
o Git config --global remote.origin.receivepack “git receive-pack”
· Try to do a git pull (clone the repo from ec2)
· Enjoy
Ingest data from external REST API into S3 using AWS Glue
Today we will learn on how to ingest weather api data into S3 using AWS Glue

Steps:
- Create a S3 bucket with the below folder structure:
- S3BucketName
- Libraries
- Response.whl

- Download python response library (in .whl format) and save in the Libraries folder within S3
- Download link: https://pypi.org/project/requests/#files


- Sign up in Openweathermap website and get the api key to fetch the weather data
- Create a new Glue ETL job
- Type: Python Shell
- Python version: <select latest python version>
- Python Library Path: <select the Response.whl library path>
- This Job runs: <A new script to be authored by you>
- Click Next
- Click "Save job and edit Script"

- Import response library
- import boto3 library for saving in S3 bucket
- Write the code to ingest data

- Run the glue job

- View the glue job results
- Job run status = Succeeded

- Verify if the data is saved in S3 bucket

- Download the saved json file from S3 and check if it is correct
- You are done. Cheers!
Subscribe to:
Comments (Atom)